
 首页&聊天页开发
# 02.首页&聊天页开发
AI官网页的首页和聊天页开发
# 初始化next项目
创建next项目,在终端执行
npm create-next-app@latest
- 初始化各项配置
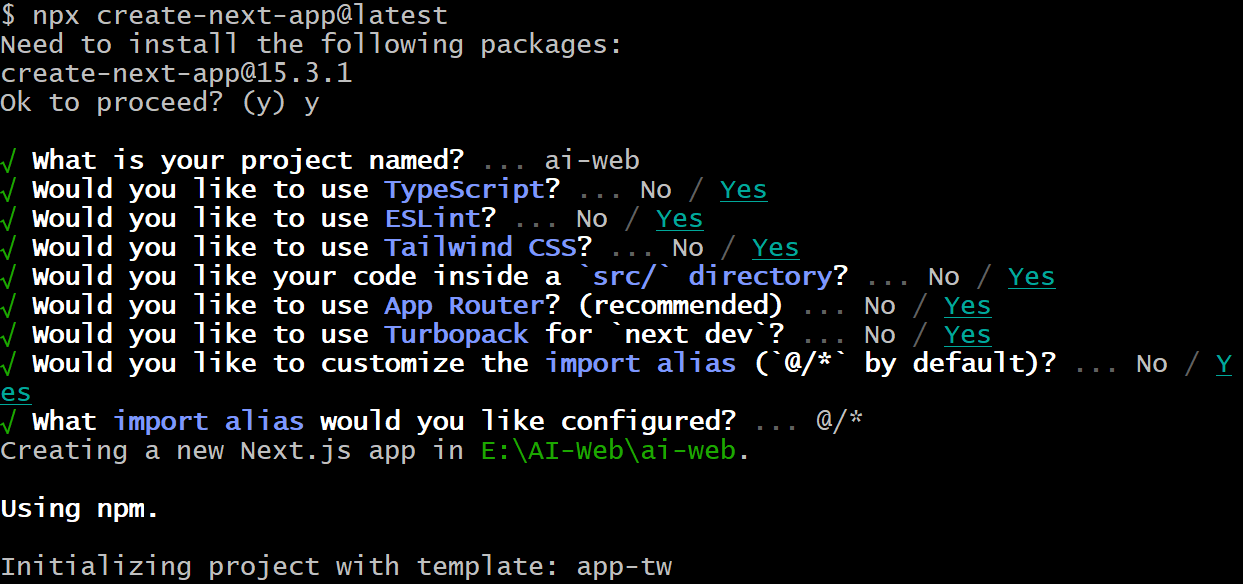 像下面的图片即创建完成√
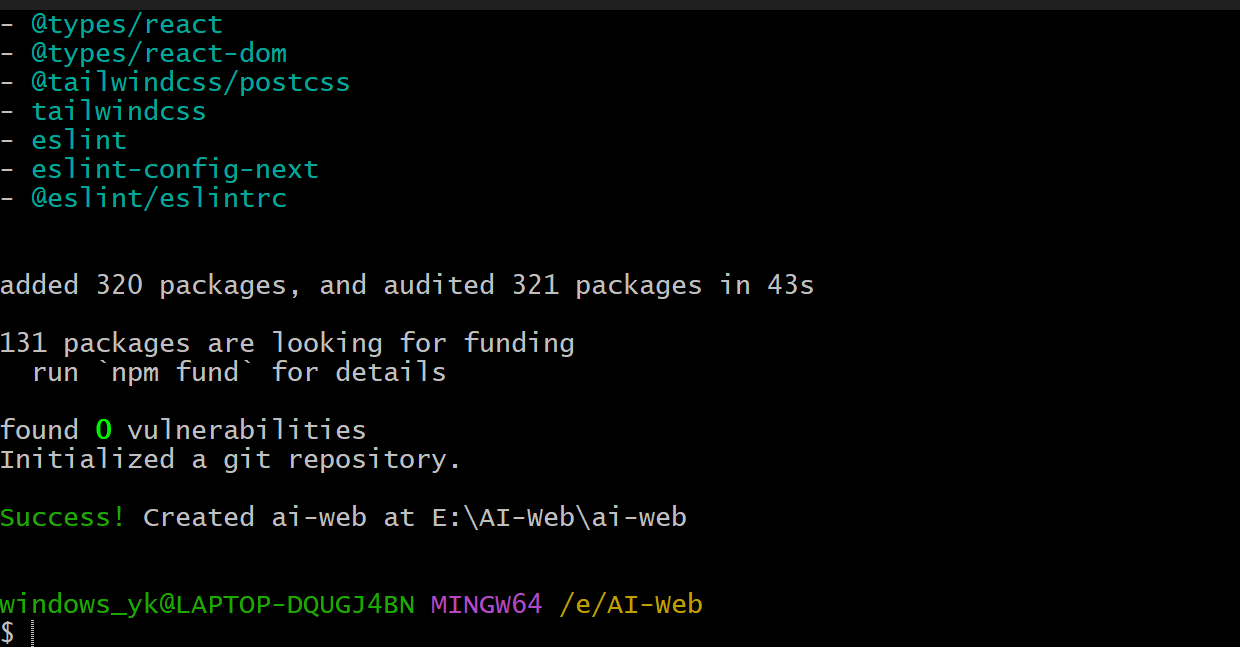
打开测试页面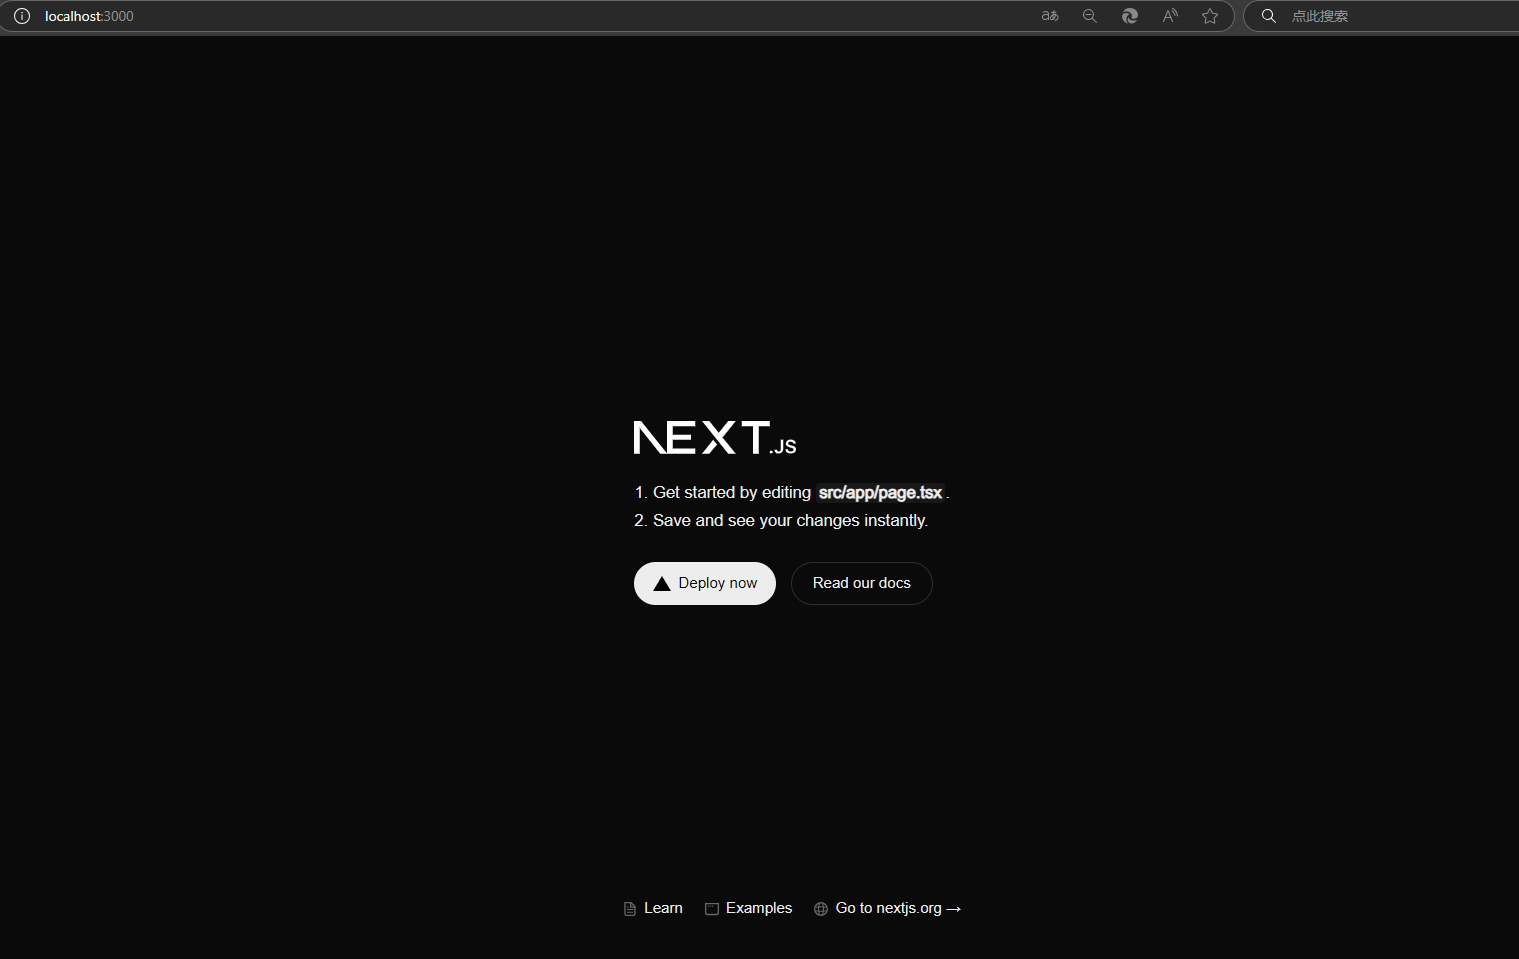
# 首页
# 导航栏设计
控制首页展示的文件在src/app/layout.tsx中
- 设计:左侧为对话相关的内容,作为导航栏。插入导航栏块

新增Navibar组件
src/components/Navibar.tsximport React from "react"; type Props = {} const Navibar = (props:Props) => { return ( <div>Navibar</div> ) } export default Navibar;1
2
3
4
5
6
7
8
9
10
11创建成功
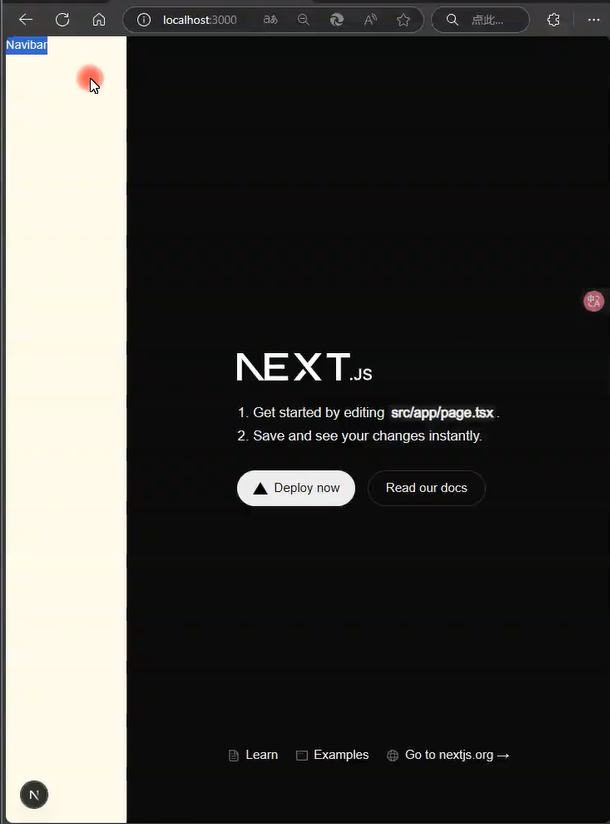
由于我的系统默认颜色是深色,所以next项目默认也是深色文件了,这里的Navibar看不见,后续步骤进行调整
src/app/page.tsx打开page文件,删除默认代码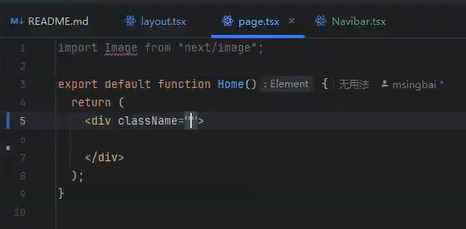
Home 能够作为函数组件导出
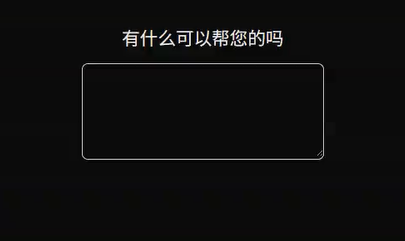
# 问候语块
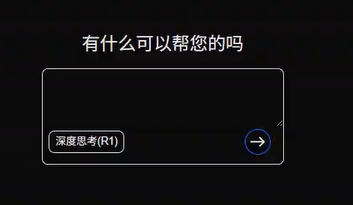
在首页的中间位置安放问候语块
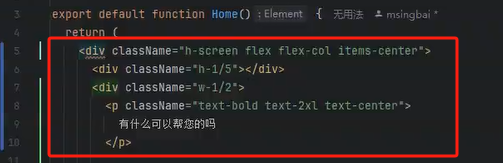
设置为全屏高(
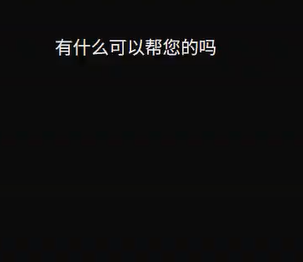
h-screen),使用 Flexbox 布局(flex flex-col items-center),使其子元素垂直居中页面实况:
# 输入框模块
输入框模块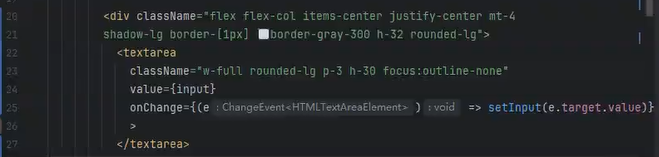
使用 React 的状态管理来处理输入内容的变化。
textarea元素,用于多行文本输入。onChange={(e) => setInput(e.target.value)}:当textarea的内容发生变化时,更新input状态变量的值为当前的输入内容。value={input}:将textarea的值绑定到input状态变量上。
这里的 input和setInput用到了useState 钩子,引入生命钩子并定义两个状态变量
import {useState} from "react";

.....
export default function Home() {
  const [input, setInput] = useState("");
....
2
3
4
5
6
页面实况:
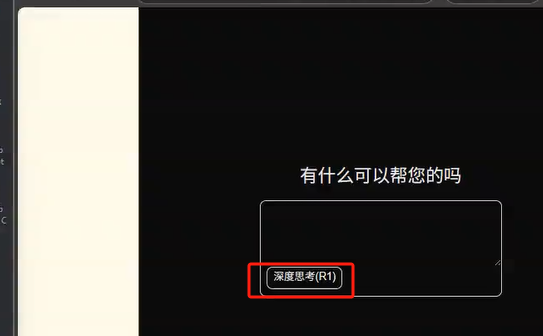
# 模型选择模块
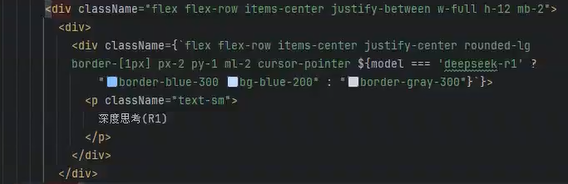
创建一个带有条件样式和交互效果的按钮
页面实况:
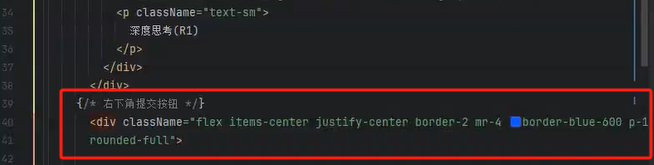
# 右下角提交按钮
右下角通过提交将输入内容提交给AI
这里我们导入mui库,它可以提供UI组件Installation - Material UI (opens new window)
进行安装组件库
npm install @mui/icons-material @mui/material @emotion/styled @emotion/react
安装好后,在我们的page文件里进行导入,插入到提交按钮中
import EastIcon from '@mui/icons-material/East'

......
          {/* 右下角提交按钮 */}
            <div className="flex items-center justify-center border-2 mr-4 border-black p-1
            rounded-full">
              <EastIcon></EastIcon>

            </div>
2
3
4
5
6
7
8
9
页面实况:
首页完整代码:
'use client'

import Image from "next/image";
import {useState} from "react";
import EastIcon from '@mui/icons-material/East'


export default function Home() {

  const [input, setInput] = useState("");
  const [model,setModel] = useState("deepseek-v3");
  const handelChangeModel = () => {
    setModel(model === 'deepseek-v3' ? 'deepseek-r1' : 'deepseek-v3');
  }

  return (
    <div className="h-screen flex flex-col items-center">
      <div className="h-1/5"></div>
      <div className="w-1/2">
        <p className="text-bold text-2xl text-center">
          有什么可以帮您的吗
        </p>

        <div className="flex flex-col items-center justify-center mt-4
        shadow-lg border-[1px] border-gray-300 h-32 rounded-lg">
          <textarea
            className="w-full rounded-lg p-3 h-30 focus:outline-none"
            value={input}
            onChange={(e) => setInput(e.target.value)}
            >
          </textarea>
          <div className="flex flex-row items-center justify-between w-full h-12 mb-2">
            <div>
              {/*左下角深度思考按钮*/}
              <div className={`flex flex-row items-center justify-center rounded-lg
              border-[1px] px-2 py-1 ml-2 cursor-pointer ${model === 'deepseek-r1' ?
                  "border-blue-300 bg-blue-200" : "border-gray-300"}`}
                   onClick={handelChangeModel}
              >
                <p className="text-sm">
                  深度思考(R1)
                </p>
              </div>
            </div>
          {/* 右下角提交按钮 */}
            <div className="flex items-center justify-center border-2 mr-4 border-black p-1
            rounded-full">
              <EastIcon></EastIcon>

            </div>
          </div>

        </div>
      </div>
    </div>
  );
}
2
3
4
5
6
7
8
9
10
11
12
13
14
15
16
17
18
19
20
21
22
23
24
25
26
27
28
29
30
31
32
33
34
35
36
37
38
39
40
41
42
43
44
45
46
47
48
49
50
51
52
53
54
55
56
57
58
# 聊天页
# 聊天模块
创建聊天页文件src/app/chat/[chat_id]/page.tsx
进入nextjs官网文档Routing: Dynamic Routes | Next.js (opens new window)
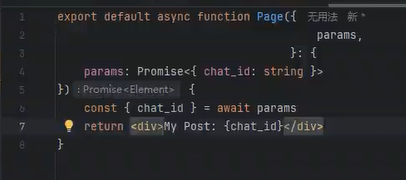
按照路径格式创建好文件,复制给出的页面例子
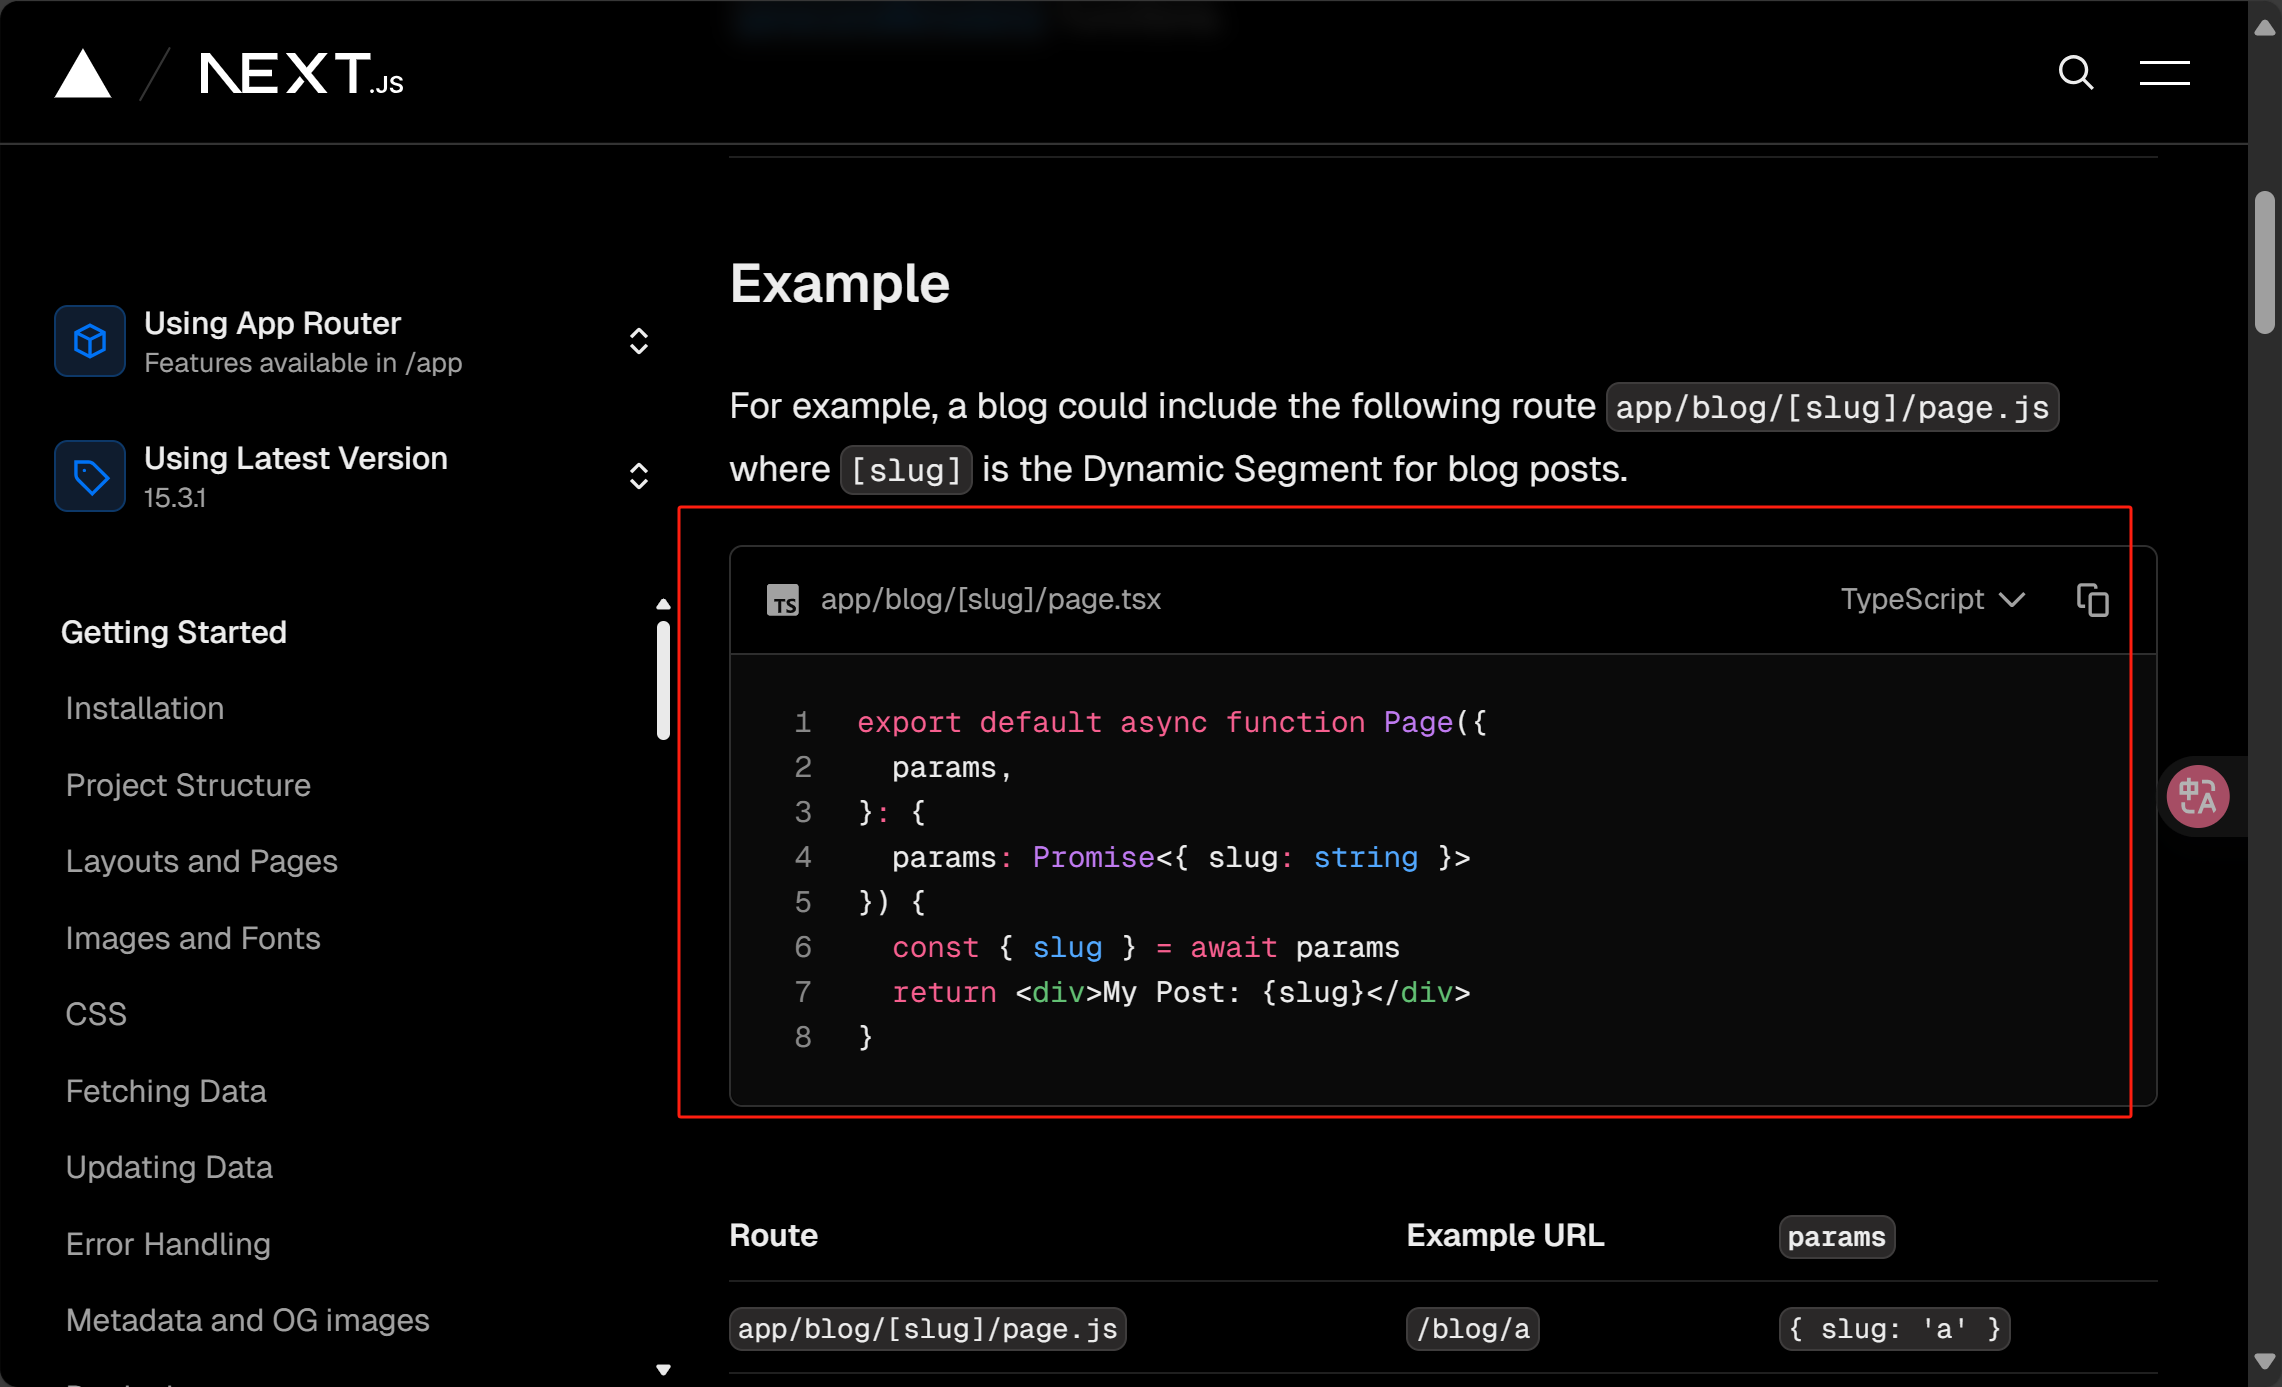
把它复制到我们的聊天页文件中进行修改
点击Menu,在官方文档里找到chatbotAI SDK UI: Chatbot (opens new window)
将例子中的代码复制下来进行保存。它为我们提供了写好的简单聊天问答
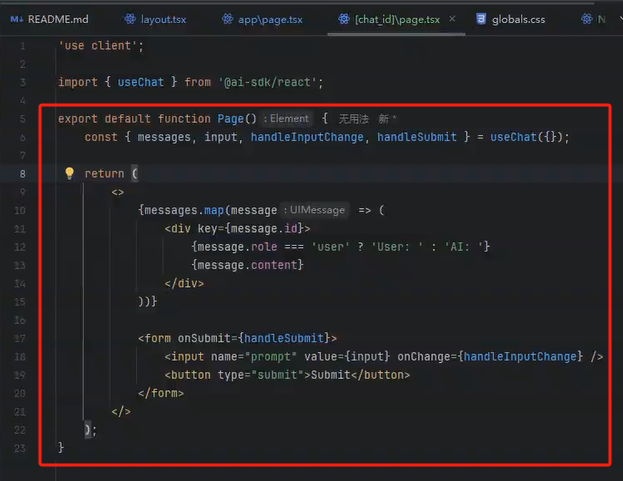
此时切换页面路由进行测试,在本地的:localhost:3000/chat/1
可以看到有一个输入框可以进行聊天了
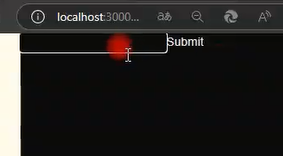
输入文字进行测试

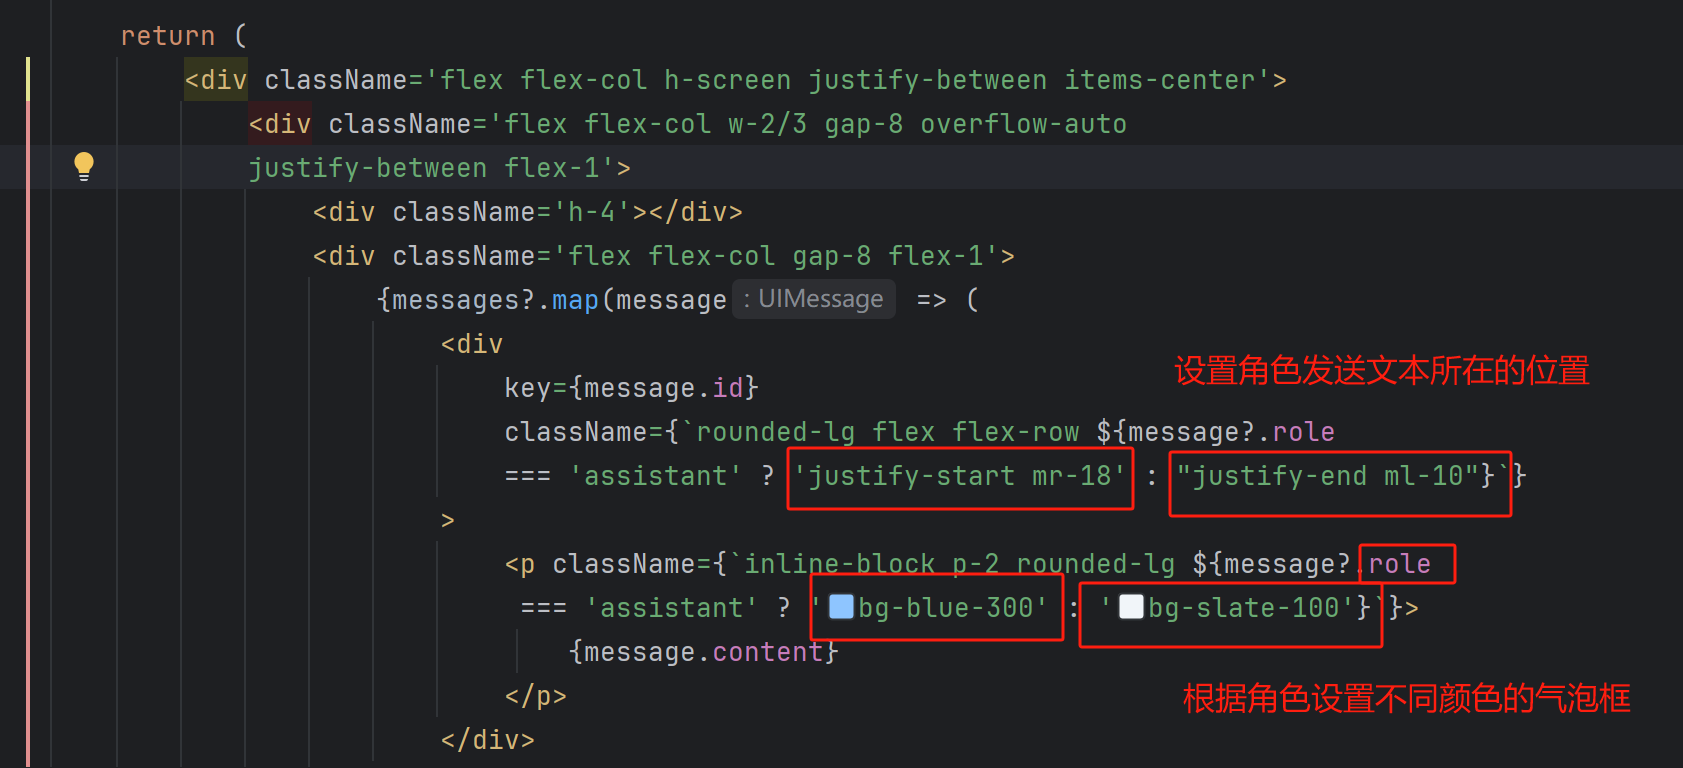
更改布局,使得AI发送的消息在左边,用户发送的消息放在右边,更改气泡框颜色
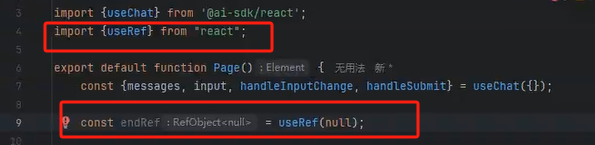
页面自动下滑功能
使用useRef钩子,它可以用来存储一个可变的值,这个值在组件的整个生命周期内保持不变。使得消息能够保持在页面中
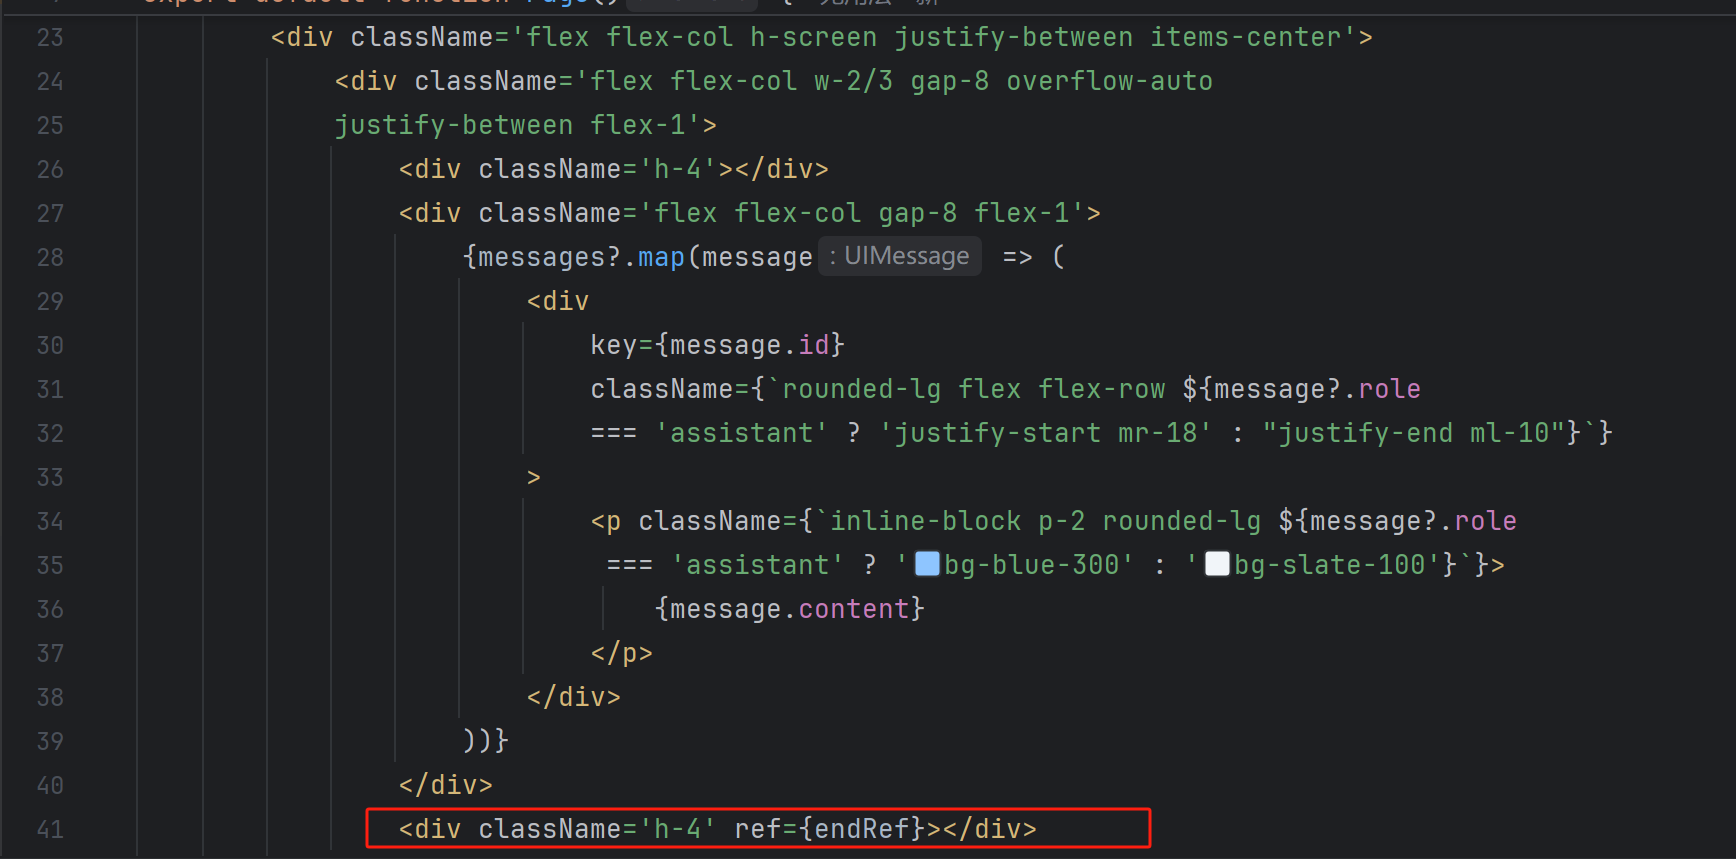
使用useEffect钩子,实现自动滚动到页面底部的功能
    // 自动下滑
    const endRef = useRef<HTMLDivElement>(null);
    useEffect(() => {
        if (endRef.current){
            endRef?.current?.scrollIntoView({behavior: "smooth"})
        }
    }, [messages])
2
3
4
5
6
7
当 messages 更新时,useEffect 钩子会触发,自动滚动到这个 div 的位置,实际上是滚动到消息列表的底部。{behavior: "smooth"} 参数确保滚动是平滑的
这样就会使页面自动下滑
输入框模块
仿照首页src/app/page.tsx的输入框,复制对应代码
        <div className="flex flex-col items-center justify-center mt-4
        shadow-lg border-[1px] border-gray-300 h-32 rounded-lg">
          <textarea
            className="w-full rounded-lg p-3 h-30 focus:outline-none"
            value={input}
            onChange={(e) => setInput(e.target.value)}
            >
          </textarea>
          <div className="flex flex-row items-center justify-between w-full h-12 mb-2">
            <div>
              {/*左下角深度思考按钮*/}
              <div className={`flex flex-row items-center justify-center rounded-lg
              border-[1px] px-2 py-1 ml-2 cursor-pointer ${model === 'deepseek-r1' ?
                  "border-blue-300 bg-blue-200" : "border-gray-300"}`}
                   onClick={handelChangeModel}
              >
                <p className="text-sm">
                  深度思考(R1)
                </p>
              </div>
            </div>
          {/* 右下角提交按钮 */}
            <div className="flex items-center justify-center border-2 mr-4 border-black p-1
            rounded-full">
              <EastIcon></EastIcon>

            </div>
          </div>

        </div>
      </div>
2
3
4
5
6
7
8
9
10
11
12
13
14
15
16
17
18
19
20
21
22
23
24
25
26
27
28
29
30
31

定义一个切换模型的方法
增加点击功能,同时在首页也补充此功能
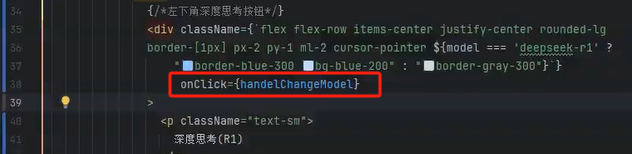
这样就开发完成了

聊天页完整代码
'use client';

import {useChat} from '@ai-sdk/react';
import {useEffect, useRef, useState} from "react";
import EastIcon from "@mui/icons-material/East";

export default function Page() {
    const {messages, input, handleInputChange, handleSubmit} = useChat({});

    const [model,setModel] = useState("deepseek-v3");
    const handelChangeModel = () => {
        setModel(model === 'deepseek-v3' ? 'deepseek-r1' : 'deepseek-v3');
    }
    // 自动下滑
    const endRef = useRef<HTMLDivElement>(null);
    useEffect(() => {
        if (endRef.current){
            endRef?.current?.scrollIntoView({behavior: "smooth"})
        }
    }, [messages])

    return (
        <div className='flex flex-col h-screen justify-between items-center'>
            <div className='flex flex-col w-2/3 gap-8 overflow-auto
            justify-between flex-1'>
                <div className='h-4'></div>
                <div className='flex flex-col gap-8 flex-1'>
                    {messages?.map(message => (
                        <div
                            key={message.id}
                            className={`rounded-lg flex flex-row ${message?.role
                            === 'assistant' ? 'justify-start mr-18' : "justify-end ml-10"}`}
                        >
                            <p className={`inline-block p-2 rounded-lg ${message?.role
                             === 'assistant' ? 'bg-blue-300' : 'bg-slate-100'}`}>
                                {message.content}
                            </p>
                        </div>
                    ))}
                </div>
                <div className='h-4' ref={endRef}></div>
            </div>

        {/*  输入框  */}
            <div className="flex flex-col items-center justify-center mt-4
        shadow-lg border-[1px] border-gray-300 h-32 rounded-lg w-2/3">
          <textarea
              className="w-full rounded-lg p-3 h-30 focus:outline-none"
              value={input}
              onChange={handleInputChange}
          >
          </textarea>
                <div className="flex flex-row items-center justify-between w-full h-12 mb-2">
                    <div>
                        {/*左下角深度思考按钮*/}
                        <div className={`flex flex-row items-center justify-center rounded-lg
              border-[1px] px-2 py-1 ml-2 cursor-pointer ${model === 'deepseek-r1' ?
                            "border-blue-300 bg-blue-200" : "border-gray-300"}`}
                        onClick={handelChangeModel}
                        >
                            <p className="text-sm">
                                深度思考(R1)
                            </p>
                        </div>
                    </div>
                    {/* 右下角提交按钮 */}
                    <div className="flex items-center justify-center border-2 mr-4 border-black p-1
            rounded-full"
                    onClick={handleSubmit}>
                        <EastIcon></EastIcon>
                    </div>
                </div>
            </div>

        </div>
    );
}
2
3
4
5
6
7
8
9
10
11
12
13
14
15
16
17
18
19
20
21
22
23
24
25
26
27
28
29
30
31
32
33
34
35
36
37
38
39
40
41
42
43
44
45
46
47
48
49
50
51
52
53
54
55
56
57
58
59
60
61
62
63
64
65
66
67
68
69
70
71
72
73
74
75
76
77
# 深浅色模式切换
根据这篇文章
🌈 为你的网站增加点灵性:随系统变色网站切换主题色已经是非常常见的功能了,提供浅色和暗色两种色调可以满足用户的使用习惯 - 掘金 (opens new window)
在src\app\globals.css中更改应用程序的主题颜色,从深色改为浅色
/*@media (prefers-color-scheme: dark) {*/
/*  :root {*/
/*    --background: #0a0a0a;*/
/*    --foreground: #ededed;*/
/*  }*/
/*}*/
/* 注释掉原来的深色模式 */

@media (prefers-color-scheme: light) {
    :root {
      --background: #f2f2f2;
    }
}
2
3
4
5
6
7
8
9
10
11
12
13
# Google字体问题

中国大陆用户在访问 Google Fonts 时,浏览器请求可能被网络屏障拦截,或需要通过复杂的迂回路径和多个中间节点才能完成。
在src/app/globals.css中,有未定义的错误
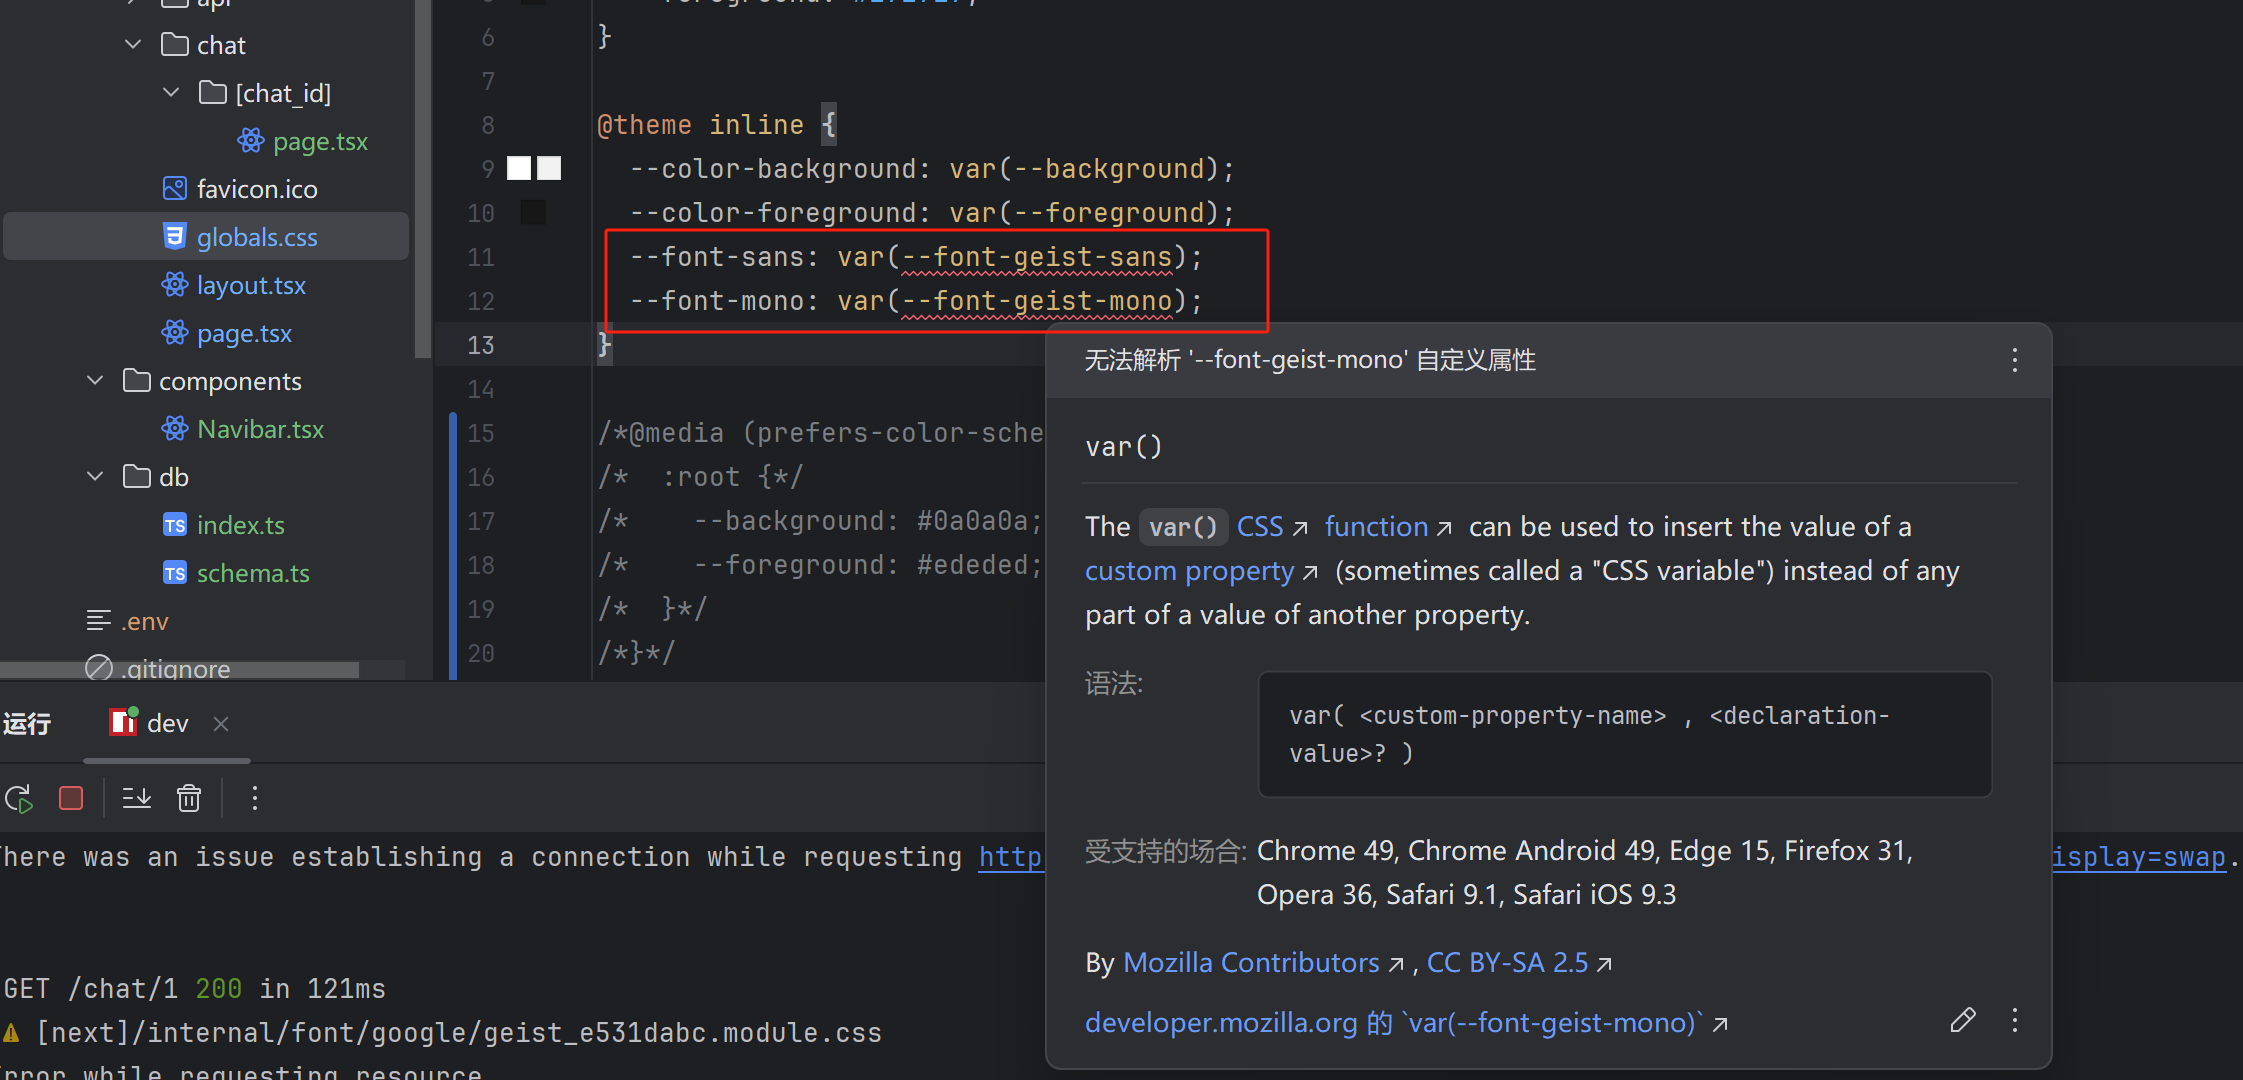
在root中补充以下代码
:root {
  --background: #ffffff;
  --foreground: #171717;
  //下面两行是补充的代码
  --font-geist-sans: Arial, Helvetica, sans-serif;
  --font-geist-mono: "Courier New", Courier, monospace;
}
2
3
4
5
6
7
暂时不影响使用
文字写于:广东
